Step 2
Positioning
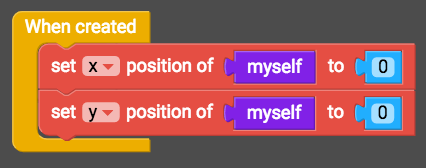
We can position our character by programming it with a script. Right-click on the character and select Add Script. Grab the "When created" block from Events, and place it in the workspace. Then from the Transform category, grab "Set x position of myself to 0" and drag it inside the event block. Right-click on that block to duplicate it, and change the copied block to "Set y position of myself to 0" by clicking on the x and changing it to y.

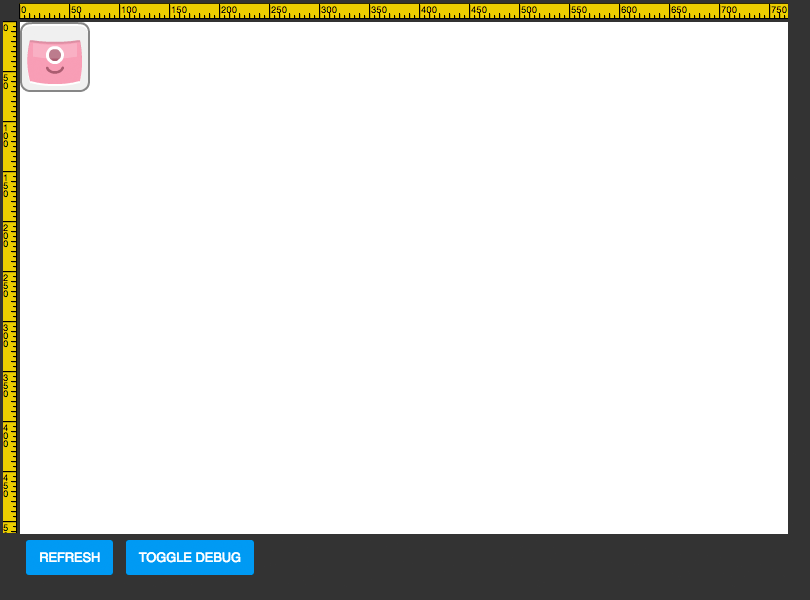
Now click Play to preview the game. The character should be positioned like this:

You won't see the yellow rulers or dotted lines: we've added those in so you can see the x and y axis. x=0 is at the left of the level, and y=0 is at the top of the level.
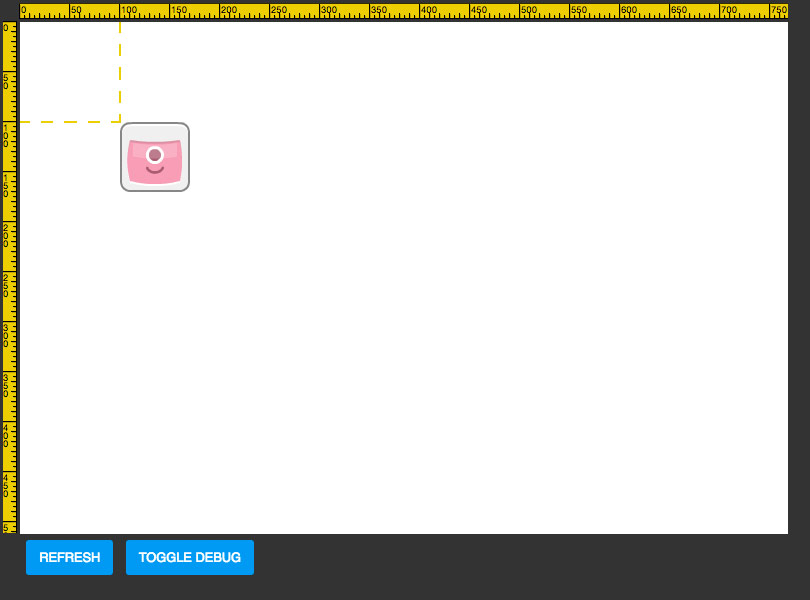
Click Edit to return to editing the script, and change the x position to 100 and the y position to 100. Then play the game again. It should now look like this:

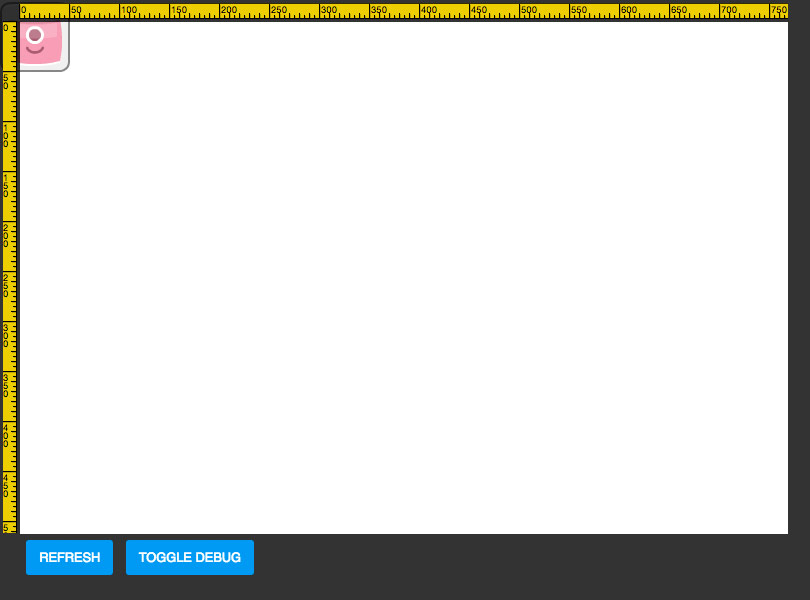
Finally, click Edit, and change the x position to -20 and the y position to -20. Play the game once more, and the character should be positioned like this:
